
Crumbs are not the only thing that can collect in a neglected crumb tray. With time, you may find burnt bits of bread, butter drips, and even mold if moisture gets trapped.
This accumulated gunk can become a breeding ground for bacteria, especially if the tray is left uncleaned for extended periods. Regular cleaning prevents these unpleasant buildups and keeps your kitchen sanitary.
6. How Often You Should Empty And Clean The Crumb Tray
To ensure your toaster operates safely and efficiently, it’s recommended to check the crumb tray at least once a week. However, if you use your toaster daily, you might want to inspect it more frequently.
Regular cleaning not only prevents buildup but also allows you to catch any potential issues before they become serious problems. A clean crumb tray is essential for maintaining toaster hygiene and performance.
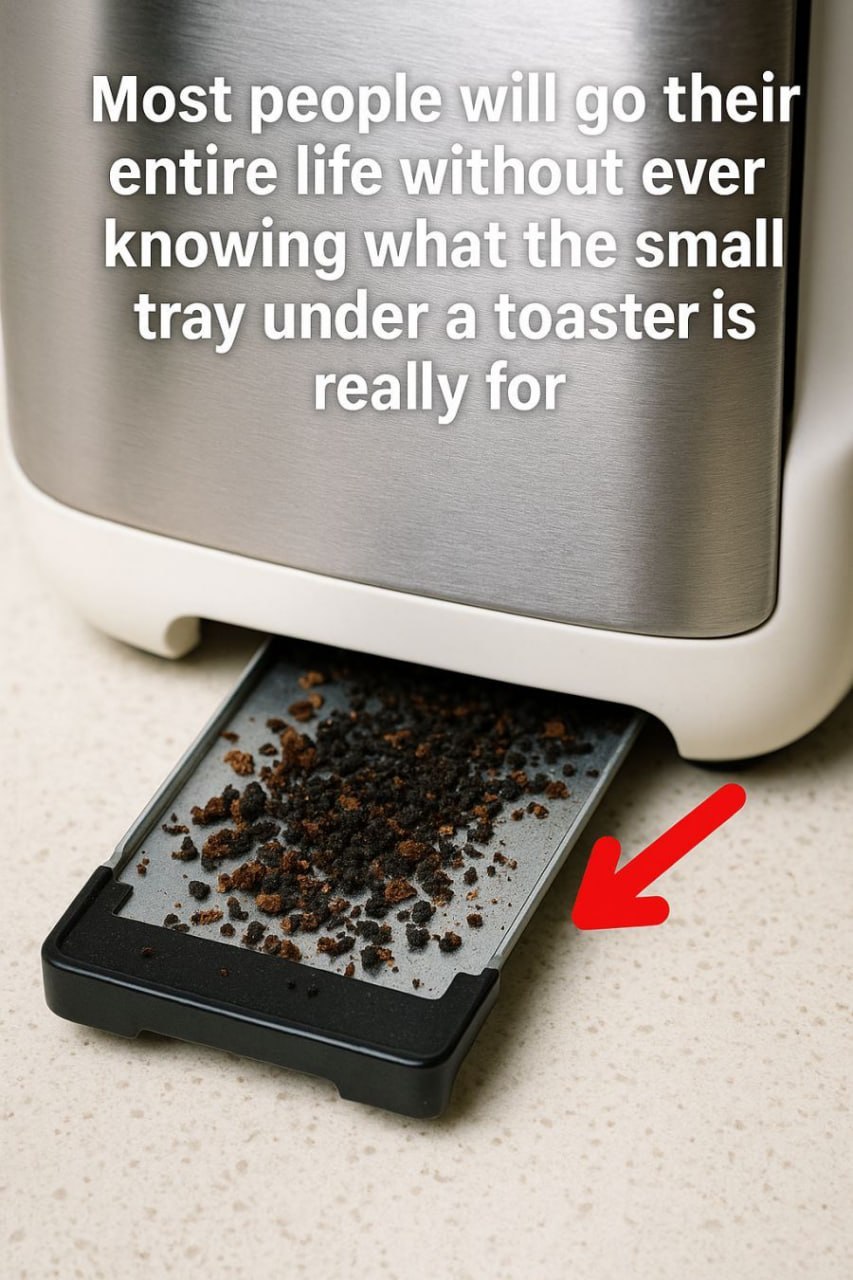
7. Step-By-Step: Safely Removing And Cleaning The Tray
1. Unplug your toaster and allow it to cool completely before handling.
2. Locate the crumb tray at the bottom of the toaster. It typically slides out easily with a gentle pull.
3. Empty the crumbs into a trash bin.
4. Use warm, soapy water and a non-abrasive sponge to clean the tray.
5. Rinse and dry the tray thoroughly before reinserting it into the toaster.
Regular cleaning can prevent buildup and extend the life of your toaster.
Continued on next page//

