
🔬 The Science: Why Does Bread Go Stale?
To fix the problem, we have to understand the culprit. Bread staling isn’t actually about drying out; it’s a chemical process called Starch Retrogradation.
The Baking Phase: When bread bakes, the heat and water cause the starch molecules to swell up, gelatinize, and become soft and squishy.
The Staling Phase: As the bread cools and sits on the counter, those starch molecules slowly recrystallize and push the water out. The bread becomes firm and stale.
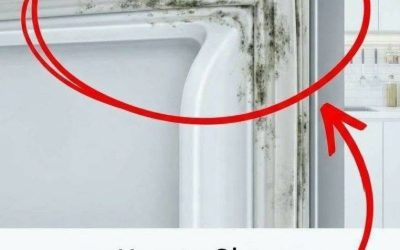
The Fridge Trap: Here is the most counterintuitive fact in baking: Starch retrogradation happens up to SIX TIMES FASTER in the refrigerator than at room temperature! The cool, humid environment of the fridge is the absolute perfect catalyst for those starches to crystallize. Never put your bread in the fridge!
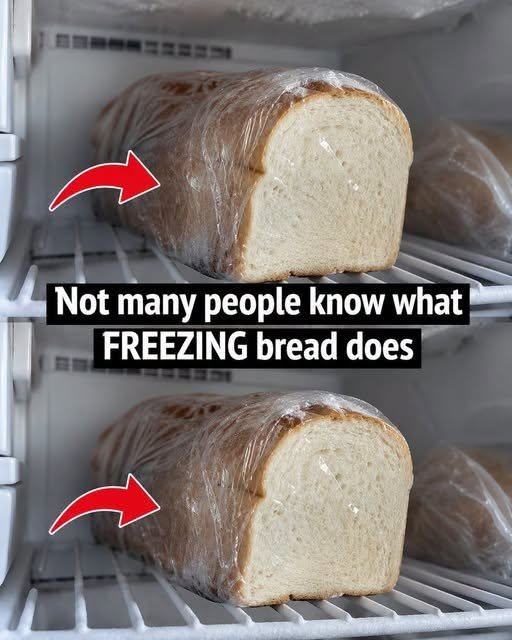
The Freezer Solution: Freezing drops the temperature so low that the water molecules literally stop moving. The starches cannot recrystallize. The bread is paused in time.
But to do this successfully, we have to defeat the freezer’s other enemy: Sublimation—when ice crystals turn directly into vapor and escape, leaving the bread dry and full of freezer burn.
The “Double-Wrap” Method: How to Freeze Bread Properly
What You’ll Need:
-
A loaf of bread (fresh or store-bought)
-
Plastic wrap or aluminum foil (first layer)
-
A heavy-duty freezer bag (second layer)
-
A permanent marker (for labeling)
Step-by-Step Instructions:
Step 1: Cool Completely
If your bread is freshly baked, let it cool completely before freezing. Freezing warm bread creates condensation, leading to ice crystals and soggy crust.
Step 2: Decide How to Freeze
Whole loaf: Freeze the entire loaf as-is for convenience.
Sliced bread: Slice the bread before freezing so you can take out individual slices without defrosting the whole loaf.
To freeze slices: Place a piece of parchment paper between each slice to prevent them from sticking together.
Step 3: The First Wrap
Wrap the loaf or slices tightly in plastic wrap or aluminum foil. Press the wrap directly against the surface of the bread to remove as much air as possible. This is the first barrier against moisture loss and freezer burn.
Step 4: The Second Wrap
Place the wrapped bread into a heavy-duty freezer bag. Squeeze out as much air as possible before sealing. This is the second barrier.
Step 5: Label and Date
Label the bag with the type of bread and the date. Bread can be frozen for up to three months.